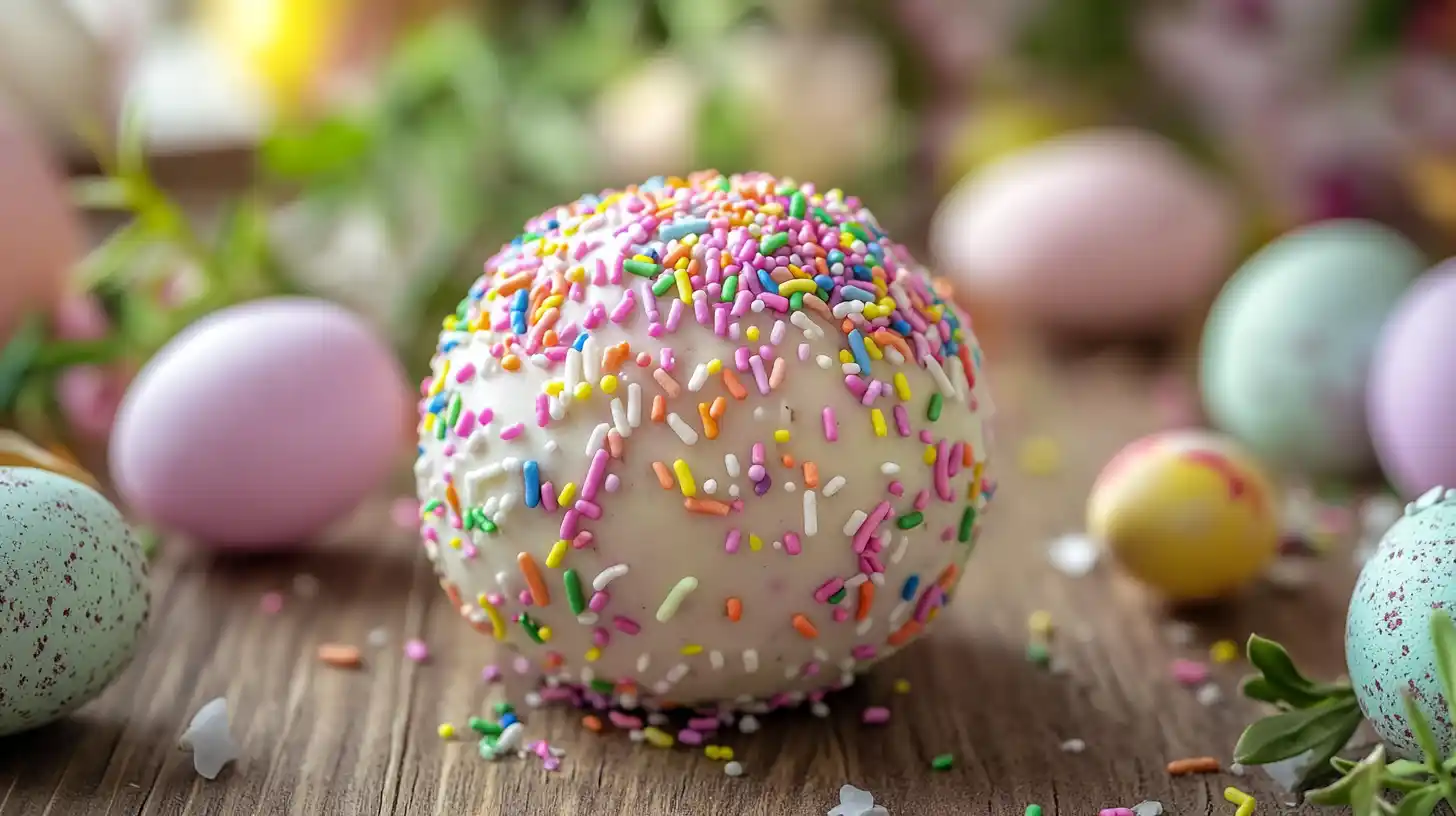
Easter Egg Oreo Balls are fun, bite-sized treats perfect for the spring season. They’re made by blending crushed Oreo cookies with cream cheese, shaping them into egg-like forms, and coating them with a smooth layer of chocolate. Think of them as an upgraded version of the classic Oreo truffle, designed to resemble Easter eggs. They’re not only tasty but also super cute and festive. 🐣✨
Table of Contents
Why Make Easter Egg Oreo Balls for Easter?
Easter is a time for family gatherings, egg hunts, and lots of sweets. These Oreo balls bring a unique twist to the usual Easter dessert table. They’re easy to make, require just a few simple ingredients, and can be decorated to match any Easter theme. Plus, they’re a no-bake dessert, meaning you don’t need to heat your oven mix, shape, dip, and decorate!
“Easter Egg Oreo balls are a perfect mix of delicious simplicity with holiday ambiance. With just a few basic ingredients, you can whip up a dessert that’s as cute as it is tasty.”
Ingredients and Equipment
Essential Ingredients
The great thing about Easter Egg Oreo Balls is that they don’t demand a long list of ingredients. You’ll only need a few items that you can easily find at any grocery store:
- Oreo Cookies: The original kind works best, but feel free to experiment with different flavors if you feel adventurous.
- Cream Cheese: Softened cream cheese is the glue that holds the broken cookies together..
- Chocolate or Candy Melts: These coat the Oreo balls, giving them that smooth, shiny shell.
- Decorations: Think pastel sprinkles, edible glitter, or candy eyes. This is where you’ll be able to unleash your creative side! 🌸
Recommended Tools and Supplies
The right tools at to make the job more efficient:
- Food Blender or Processor: to finely crush Oreo cookies. Oreo cookies.
- Mixing Bowl and Spatula: This is used to mix the crumbs with cream cheese.
- Baking Sheet and Parchment Paper: Arrange the balls while they chill and prevent sticking.
- Dipping Fork or Toothpicks: This is used to coat the balls in chocolate without making a mess.
- Cooling Rack: Optional but handy if you want the chocolate to set evenly.
“Using a food processor not only speeds up the prep time but also ensures your Oreo crumbs are fine enough to blend perfectly with the cream cheese.”
Now that we know what we need, let’s move on to the step-by-step instructions and start making these delightful treats!
Step-by-Step Instructions
Preparing the Oreo Mixture
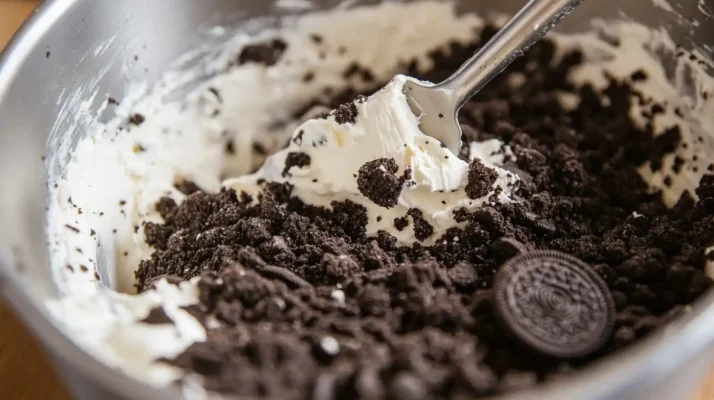
Making the perfect Easter Egg Oreo Balls starts with creating a smooth, easy-to-mold mixture. Start by crushing the Oreo cookies until they form a fine crumb. If you have a food processor, this step will only take a minute or two. Don’t have one? No problem! Place cookies in a sealable plastic bag, then crush them with the roll pin. (And hey, if you need to blow off a little steam, this is the perfect opportunity! 😉)
Once the cookie crumbs are prepared and you’re ready to mix into your cream cheese, let it cool to ambient temperature so that it is easier to mix. Then, mix the crumbs of cookies and your cream cheese in the big mixing bowl. Use a spatula (or just your hands get messy, have fun!) to knead the mixture until it’s fully blended. You’re looking for a dough-like consistency that holds its shape when rolled. If it feels too dry, add a tiny bit more cream cheese. Too sticky? Cool it down for 10 to 15 minutes prior to making the shape. If you love creamy, no-bake desserts, you might also enjoy trying Cookie Dough Dip, which has a similarly indulgent and easy-to-make texture!
“The secret to a smooth Oreo mixture is to make sure that the crumbles are well-crushed and thoroughly mixed with cream cheese. This foundation makes the balls easy to shape and gives them their melt-in-your-mouth texture.”
Shaping the Eggs
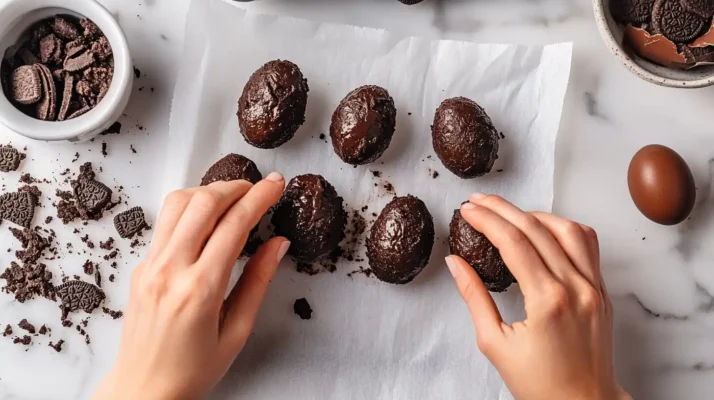
The fun part is turning that creamy Oreo mixture into adorable egg shapes. Grab about a tablespoon of the mixture and roll it between your palms. Then, gently pinch one end to create the classic egg form. Don’t worry about making them perfect part of their charm is that homemade touch. Place each shaped egg on a parchment-lined baking sheet, leaving a bit of space between them.
When you’ve shaped all your eggs, pop the tray into the fridge for at least 30 minutes. This chill time helps the eggs firm up, making them easier to dip and decorate. If you’re in a hurry, place them in the freezer for 15 minutes. The goal is to make them solid enough to hold their shape during the chocolate-coating process.
Dipping and Decorating
Once your Oreo eggs are nice and firm, it’s time to coat them in chocolate. Melt your chocolate or candy melts in a microwave-safe bowl, heating in 20–30-second intervals and stirring in between to ensure it’s smooth and lump-free. In case it’s too dense, you can add liquid vegetable oil in order to even it down.
Gently lower each egg into the chocolate using a dipping fork or toothpick. Ensure it’s fully coated, then lift it out, letting any excess chocolate drip back into the bowl. The coated eggs should be placed back onto the parchment.
Before the chocolate is set completely add your decorations. Pastel-colored sprinkles, edible glitter, or crushed candy add a festive touch. If you’re feeling extra creative, you can drizzle a contrasting color of chocolate over the eggs using a piping bag or a simple plastic sandwich bag with a corner snipped off. 🎨✨
Let the chocolate harden at room temperature or pop the tray back into the fridge for a few minutes. Once set, your Easter Egg Oreo Balls are ready to serve, gift, or enjoy yourself!
Creative Decorating Ideas
When it comes to decorating Easter Egg Oreo Balls, there are endless possibilities. You can keep them simple and elegant or go out with vibrant colors and fun textures. Let your imagination run wild! After all, these little treats are supposed to be as festive as the holiday itself. 🐇🌸
Fun Color Combinations
One of the easiest ways to make your Oreo balls stand out is by using a variety of colors. Consider pastel shades soft pinks, blues, yellows, and greens since they’re quintessentially “Easter.” You can achieve this look by dividing your melted white chocolate into separate bowls and mixing in different food coloring gels.
Want something a little more striking? Try marbling two colors together. Dip the Oreo egg into one base color, then drizzle another color over the top. Use a toothpick or a small skewer to swirl the colors together before they set. The result is a stunning, one-of-a-kind design that’s almost too pretty to eat. 🎨💕
Unique Topping Suggestions
Beyond colors, you can add a ton of personality to your Oreo balls with toppings. Crushed nuts, shredded coconut, or crumbled cookie bits are all excellent choices. For a more whimsical approach, look for edible glitter or metallic sugar crystals to give your treats some sparkle. You can also use candy eyes or miniature fondant flowers for added detail.
Another idea is to sprinkle crushed graham crackers or Oreo crumbs on top to create a textured, speckled look reminiscent of real eggshells. It’s these little details that turn a simple treat into a showstopper.
“Decorating Oreo balls is like painting on a blank canvas you can mix, match, and experiment to create treats that are not only delicious but also visually stunning.”

Common Problems and Solutions
Even though Easter Egg Oreo Balls are straightforward, a few hiccups can arise. Here’s how to tackle the most common issues for flawless results.
Oreo Balls Not Holding Their Shape
If your Oreo mixture is too crumbly, it likely means you need more cream cheese. Add a small amount at a time until the mixture sticks together. On the flip side, if the mixture feels too soft or sticky, pop it in the fridge for 15–20 minutes before shaping and finding that sweet spot where the “dough” feels firm enough to roll, but not too rigid that it cracks.
Uneven Coating or Cracking
Cracks in the chocolate coating usually happen if the Oreo balls are too cold when dipped. If you’ve chilled them in the freezer, let them sit at room temperature for a few minutes before dipping. For uneven coating, make sure the chocolate is fully melted and smooth. Stir it well and work quickly but carefully. If the chocolate starts to thicken, reheat it in short bursts to maintain the right consistency.
How to Store Leftover Oreo Balls
Storing your Oreo balls properly keeps them fresh and delicious. If you’re making them ahead, store them in an airtight container in the fridge. They can last for up to a week with this method. For more extended storage, consider freezing them. Make sure to separate layers with parchment paper so they don’t stick together. When you’re ready to serve, let them thaw in the fridge to prevent any condensation from forming on the chocolate coating.
With these simple solutions, you can ensure that your Easter Egg Oreo Balls turn out perfect every time. 🎉🍬
Tips and Tricks for Perfect Oreo Balls
Making Easter Egg Oreo Balls is easy, but a few handy tips can take your treats from good to great. Here are some tried-and-true tricks to ensure success:
Working with the Right Consistency
The consistency of your Oreo mixture is crucial. If it’s too soft, it’ll be tricky to shape, and if it’s too hard, you might have trouble forming smooth, uniform eggs. A great way to test it is by pinching a bit of the mixture between your fingers. You’re golden if it holds its shape without crumbling or sticking excessively. If it’s not quite there, adjust by adding a bit more cream cheese or chilling the mixture briefly.
Another pointer: keep your hands lightly dusted with powdered sugar while rolling. This prevents sticking and helps maintain smooth surfaces for decorating.
Time-Saving Techniques
If you’re making a big batch, you can save time using a small cookie scoop or a melon baller to portion the mixture before rolling. This ensures that every egg is roughly the same size, which looks better and helps them set evenly.
For dipping, set up a “dipping station” before you start. Line up your bowls of melted chocolate, have your parchment-lined tray ready, and keep a few toothpicks or dipping tools on hand. This assembly-line approach speeds up the process and helps avoid mess or fuss.
Frequently Asked Questions
Even the most straightforward recipes can come with a few questions. Here are answers to some common queries about Easter Egg Oreo Balls:
Can I Use Different Flavored Oreos?
Absolutely! While classic Oreos are popular, you can experiment with flavored varieties to add a unique twist. Mint, golden, or even peanut butter Oreos can completely change the flavor profile of your Easter eggs. The process remains the same swap out the cookie flavor and see what you like best.
How Long Do They Stay Fresh?
Easter Egg Oreo Balls stay fresh for about a week when stored in an airtight container in the fridge. If you’re looking to make them last longer, think about freezing them. When frozen, they’ll keep for a couple of months. Just be sure to thaw them in the fridge before serving to maintain their texture and flavor.
Can I Make These Ahead of Time?
Definitely! These treats are perfect for making in advance. Giving them some extra time to chill often improves their texture. Prepare the Oreo balls and decorate them a day or two before your Easter gathering, and they’ll be ready to impress your guests without any last-minute stress.
“The beauty of Easter Egg Oreo Balls lies in their simplicity. With just a little prep and creativity, you can turn a few pantry staples into a festive dessert that’s sure to wow your family and friends.”
Conclusion
Easter Egg Oreo Balls are a delightful blend of fun, creativity, and deliciousness. From the rich Oreo filling to the colorful, festive decorations, they’re a treat that everyone can enjoy. They’re simple and flexible enough for beginners to let seasoned bakers get creative.
Why not give them a go this Easter? You’re set up for success with these step-by-step instructions, helpful tips, and decorating ideas. Whether making them for a holiday party, as a gift or just because you love chocolate and Oreos, these little eggs will surely be a hit. Enjoy every bite! 🐣💖