This guide teaches you How to make your own baking powder at home. We’ll cover baking powder, why you might want to make your own, the ingredients needed, and step-by-step instructions. We’ll also discuss different types of baking powder and how to store your homemade version.
Table of Contents
Understanding Baking Powder
What is Baking Powder?
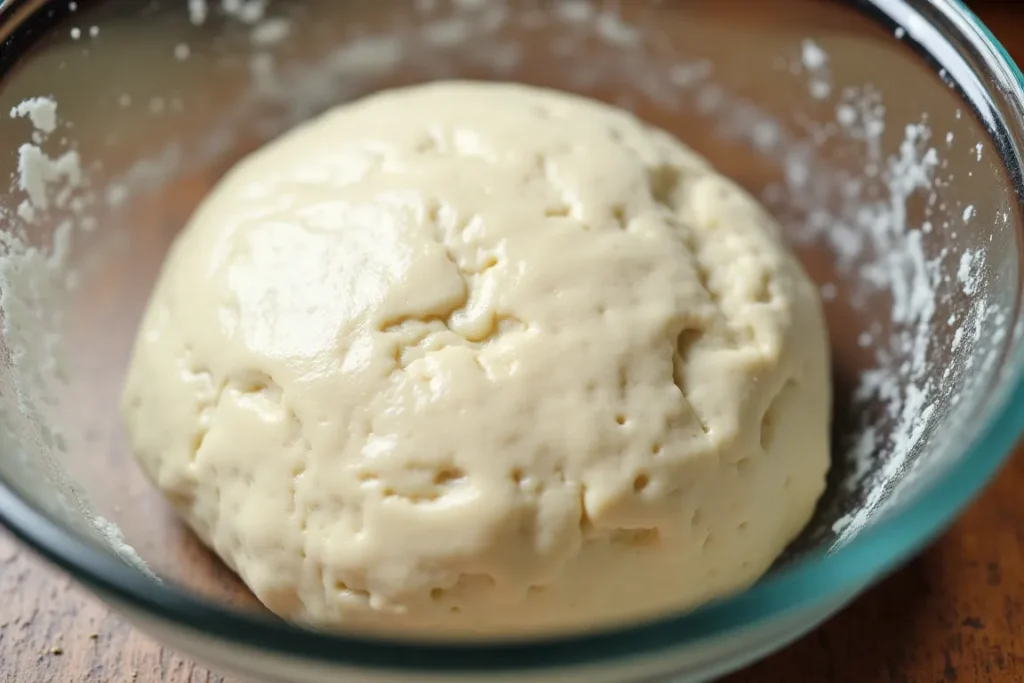
Baking powder can help baked goods rise up and turn fluffy and light. It contains baking soda and an acid. Add water to mix baking soda with acid. This creates bubbles of carbon dioxide gas. These bubbles make the dough or batter expand as it bakes.
Types of Baking Powder
There are two main types: single-acting and double-acting. Single-acting baking powder only works when it gets wet. Double-acting baking powder works twice: once when it gets damp and again when it gets heated in the oven. Most recipes use double-acting baking powder.
How Baking Powder Works
The baking powder’s acid reacts with baking soda. This reaction produces carbon dioxide gas. The gas gets trapped in the batter, creating air pockets. These air pockets make your cakes, cookies, and other baked goods rise and become light and airy. The heat from the oven helps the double-acting baking powder release more gas, resulting in even more lift.

Why Make Your Own?
Making your baking powder saves you money. Store-bought baking powder can be expensive. Homemade baking powder is cheaper because you buy the ingredients separately.
You also know exactly what ingredients are in your baking powder. Some store-bought brands have added ingredients you might not want. Making it yourself gives you control.
Plus, it’s fun! Many people enjoy making things from scratch. It’s satisfying to create something useful yourself.
Remember: homemade baking powder doesn’t last as long as the store-bought kind. Use it quickly for the best results.
Ingredients
| Ingredients | Quantity | Note |
|---|---|---|
| Baking Soda | Amount depends on recipe | Use a fresh box for best results. |
| Cream of Tartar | Amount depends on recipe | This provides the acid needed for the reaction. |
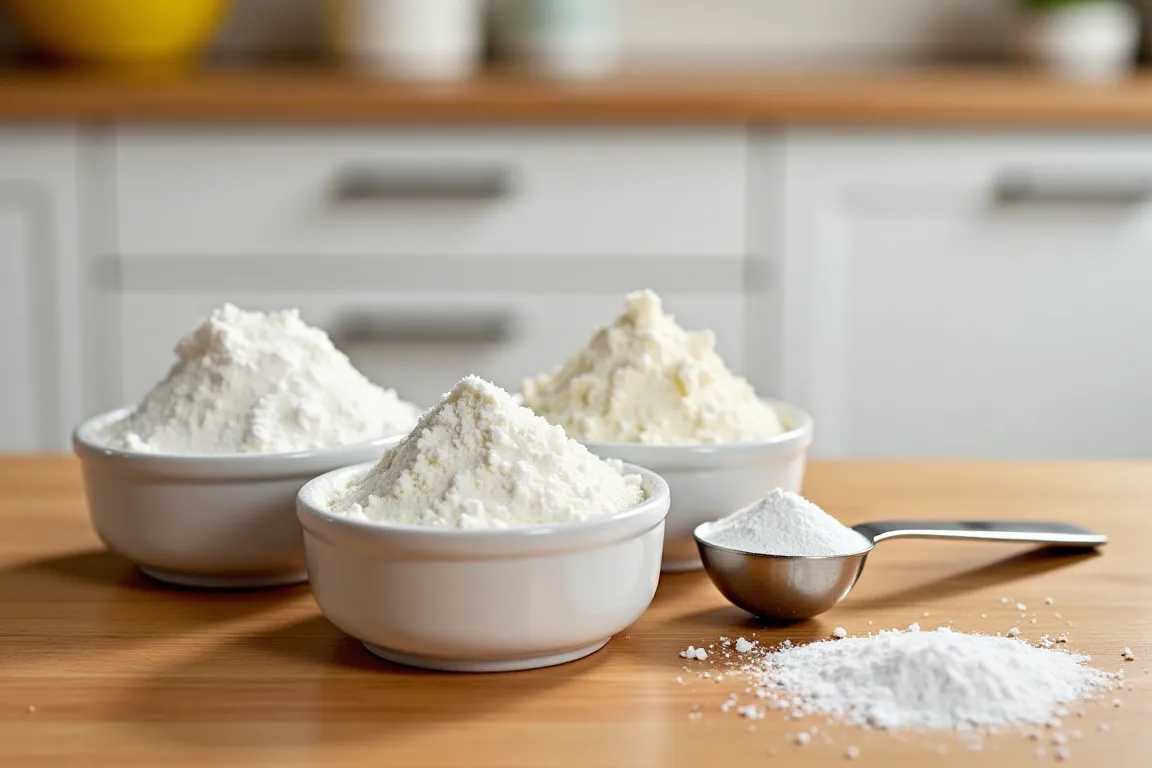
Baking soda is required and cream of tartar (the acid). Use high-quality ingredients to get the most effective results. You can find these at most grocery stores.
Making Baking Powder
Mixing Baking Soda and Cream of Tartar
Making your baking powder is easy! There are just two ingredients baking soda and in cream of tartar. It is an acid which reacts baking soda. This is the reason why baked goods rise.
The Right Ratio
The most common proportion is one baking soda for every two tablespoons cream of tartar. For instance, if you make use of 1 teaspoon baking soda, make use of 2 tablespoons of cream tartar. You can adjust this ratio depending on your recipe’s needs; some may call for different amounts.
Mixing Instructions
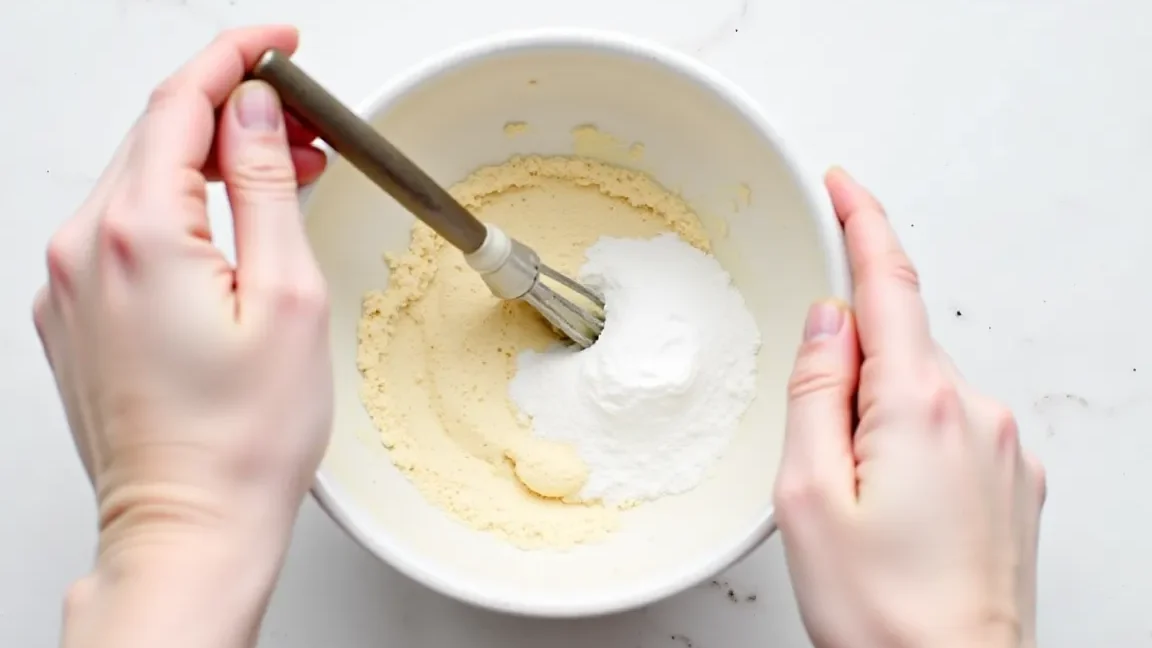
Mix thoroughly the baking soda and the cream of tartar. Use a small dish and the spoon or whisk. Make sure there are no clumps. Mixing well ensures even rising in your baked goods. Once it is mixed, your home-made baking powder will be ready for use!
Testing Your Baking Powder
Checking for Freshness
Baking powder made from scratch won’t stay as long as the store-bought variety. To see if the condition is in good condition, run a simple test.
The Fizz Test
Mix a tiny amount of baking powder into some water. It should immediately start to fizz. The fizz comes from the carbon dioxide gas. This gas is the reason cakes rise.
What No Fizz Means
If your baking powder doesn’t fizz, it’s probably not working anymore. The acid and baking soda have likely reacted already, so it won’t help your baked goods rise. It’s time for fresh batches.
Why the Fizz Matters
The fizz shows the baking powder is fresh and ready to create those important air pockets in your batter or dough. Without the fizz, your treats won’t be as light and fluffy.

Storing Baking Powder
Keeping Baking Powder Fresh
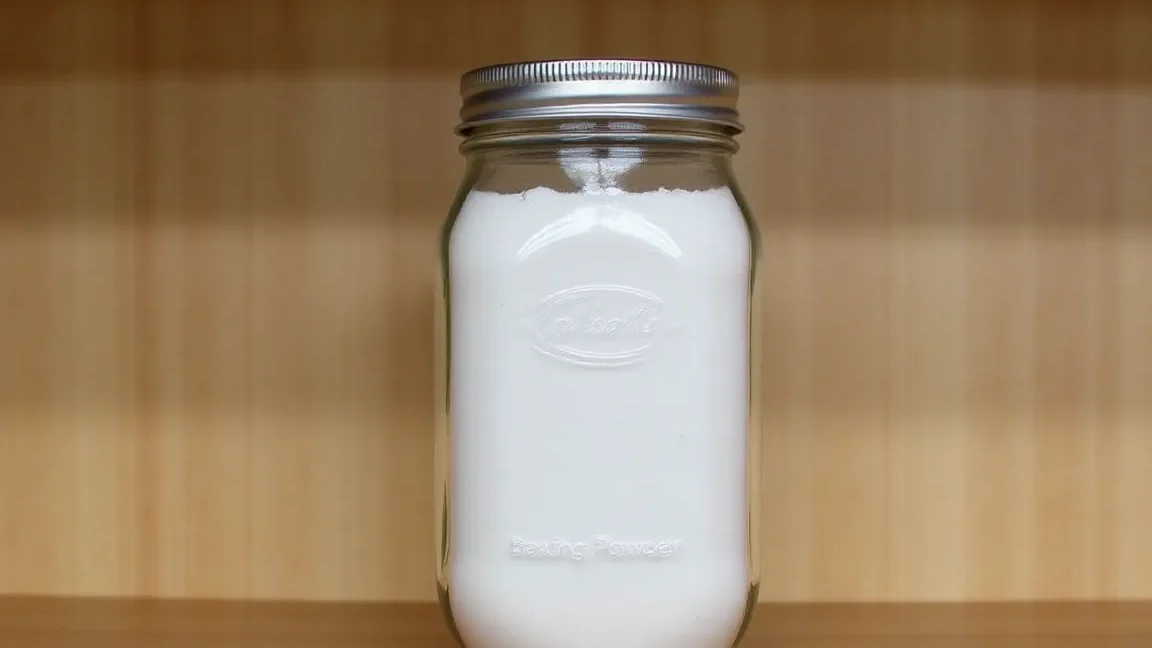
Make sure you store the baking powder you make yourself in an airtight container. This means a container with a tight-fitting lid that prevents air from getting inside. Air can cause your baking powder to lose its ability to make baked goods rise.
The Best Place to Store Baking Powder
Keep the container in a cool, dry place. Avoid areas that are hot, humid, or have a lot of light. Heat and moisture can cause the baking powder to clump and lose its effectiveness. A pantry is usually an ideal location.
Why Proper Storage Matters
Proper storage keeps your baking powder fresh and prevents clumps from forming. Clumpy baking powder also doesn’t work, so your cakes and cookies may not rise properly. Using fresh baking powder ensures your baked goods turn out light and fluffy.
Using Homemade Baking Powder
Using Homemade Baking Powder in Recipes
Make your own baking powder exactly like you would purchase baking powder from the store. Most recipes don’t need changing. Substitute the same amount homemade baking powder to the amount of baking powder that is required in your recipe.
Baking Powder Substitutions
While you can usually swap homemade for store-bought directly, remember that the freshness of your homemade baking powder matters. A simple fizz test (adding a pinch to water; it should fizz immediately) will tell you if it’s still active. If it does not, then bake an additional batch before baking. If you ever find yourself without baking powder, check out what to use if you don’t have baking powder for some alternative solutions.
Troubleshooting Baking with Homemade Baking Powder
If your baked goods don’t rise as expected, even with a fresh batch of baking powder, there are a few possibilities. Make sure you measure your ingredients correctly. Also, check the expiration date on your baking soda; old baking soda might not react as well. Finally, ensure you mix the baking soda and cream of tartar completely; lumps can affect how evenly the baking powder works.
Recipes using Homemade Baking Powder
The great thing is you can use your homemade baking powder in all your favorite recipes. Try it in cakes, cookies, muffins, biscuits, and more. Experiment and have fun! Baking should be enjoyable, and making your baking powder is a great way to add a personal touch to your baking.

Troubleshooting
Baking Powder Problems
If the baked goods you bake aren’t rising, the baking powder may be the cause. Check if it’s fresh. A simple test is to add a little to water; it should fizz. No fizz means it’s not working. Make a new batch if this happens.
Mixing Issues
Mix both baking soda as well as the cream of tartar well. Lumps mean uneven rising. Use a spoon or whisk to get them all mixed together.
Ingredient Issues
Old baking soda can cause problems. Check the date on your baking soda box. Using fresh ingredients is important for good results. Also, double-check that you measured all ingredients correctly. Even small mistakes can affect how your baked goods rise.
Frequently Asked Questions
What is a cream of tartar?
Cream of tartar is a dry, acidic ingredient. It’s a byproduct of making wine. It reacts with baking soda to create the bubbles that make baked goods rise.
Can I use different ratios of baking soda and cream of tartar?
The 1:2 ratio (one part baking soda to two parts cream of tartar) is a common starting point. However, some recipes may call for different amounts. Always follow the specific ratio given in your recipe.
How long does homemade baking powder last?
Baking powder that is homemade doesn’t stay as long as commercially-made baking powder. Use it within a few weeks for best results.
What if my homemade baking powder doesn’t fizz?
If your baking powder doesn’t fizz when tested (add a pinch to water – it should fizz immediately), it’s no longer active. Make a fresh batch.
Can I use my homemade baking powder in every recipe?
You can use homemade baking powder in most recipes that call for store-bought baking powder. Just substitute an equal amount.
Why is my baking not rising properly?
Several things can cause this. Make sure your baking powder is fresh (fizz test!). Also, check that you measured the ingredients correctly and mixed the baking soda and cream of tartar thoroughly. Baking soda that has been used for a long time can be a problem. Use new baking soda.
Where can I get baking soda, cream of tartar and other ingredients?
Most grocery stores carry baking soda and cream of tartar in the baking aisle.
Conclusion: Making and Using Homemade Baking Powder
Making Your Baking Powder
Making your baking powder is easy! You need baking soda and cream of tartar You will need baking soda as well as Cream of Tartar. Mix them with care to ensure an the dough to rise even in baked products.
Storing Homemade Baking Powder
Keep your homemade baking powder fresh. Keep it in a sealed airtight container in a dry, cool location. This prevents it from losing its ability to make your treats light and fluffy.
Using Your Homemade Baking Powder
Utilize your homemade baking powder to make recipes as you would with store bought. Always check for freshness before using it a simple fizz test will tell you if it’s still good.
Making your baking powder is easy! Measure carefully and store it correctly for the best results.
